Venturing into the world of home renovations can transform any living space, but it requires a blend of artistry and precision, especially when it comes to engineered stone installations. This task, while rewarding, can often be daunting for DIY enthusiasts eager to elevate their interiors with the sleek, durable beauty of engineered stone. The challenges range from choosing the perfect slab to ensuring a flawless finish, underscoring the importance of mastering the right techniques.
With a focus on the specific interests and needs of home improvement aficionados, this guide delves into the most effective methods for engineered stone installation. It's not just about enhancing the visual appeal of your home; it's also about tackling the project with confidence, armed with insights that bridge the gap between amateur attempts and professional-grade outcomes. Whether it's your kitchen worktop or bathroom vanity that's set for transformation, understanding these key techniques is the first step towards realizing your vision.
Selecting the Right Engineered Stone
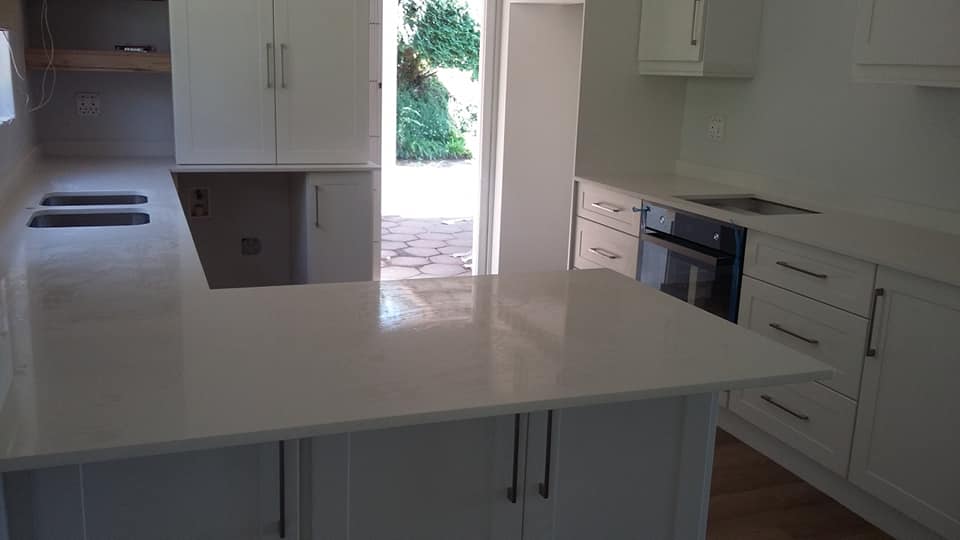
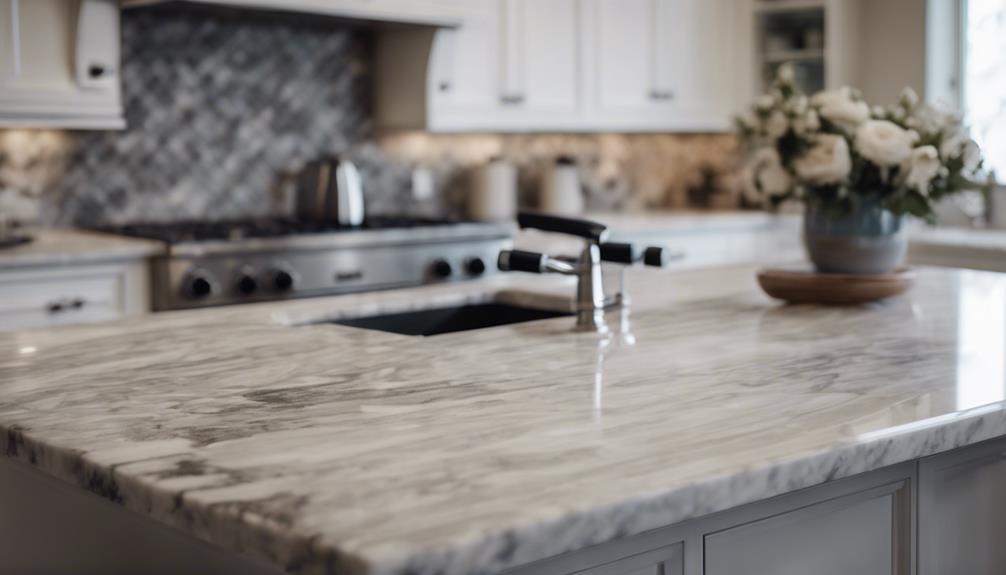
When selecting the right engineered stone for your project, it's crucial to consider various factors such as colour, pattern, thickness, and edge profiles to ensure both aesthetic appeal and functional durability. Engineered stone, a composite material of crushed stone and polymer resin, offers high durability, stain resistance, scratch resistance, and heat resistance, making it an ideal choice for kitchen worktops. With a wide range of colours and patterns available, engineered stone can mimic the look of natural stones like marble or granite. Its non-porous surface simplifies cleaning and maintenance, adding to its appeal for homeowners.
During the selection process, pay close attention to the desired thickness of the stone, as well as the edge profiles that can enhance the overall aesthetic of the installation. Detailed installation instructions should accompany the chosen engineered stone, including guidance on handling corners, applying a scratch coat if needed, and following specific steps to ensure a successful installation. By considering these factors, you can ensure that the engineered stone chosen not only looks beautiful but also performs effectively in your space.
Preparing the Installation Surface
Preparing the Installation Surface
To ensure a successful installation of engineered stone, meticulous preparation of the installation surface is paramount for achieving a durable and visually appealing outcome. Before starting the installation process, it is crucial to ensure that the surface is clean, dry, and free of debris. Using a level to check the evenness of the surface helps prevent misalignment of the stones during installation. Applying a suitable primer or bonding agent is recommended to enhance the adhesion of the engineered stone to the surface. In areas prone to moisture or water exposure, consider using a moisture barrier to protect the installation. Address any structural issues or uneven surfaces before proceeding with the installation to ensure a smooth and durable finish.
When preparing the installation surface, spread mortar on the back of the stone and use wire lath to reinforce the installation. Pay close attention to the joints between the stones, ensuring they are properly filled using a grout bag for a secure and professional finish.
Applying Adhesive for Secure Bond

For a secure and long-lasting bond when installing engineered stone, selecting a high-quality adhesive approved for this specific application is essential. When applying the adhesive for manufactured stone veneer, ensure it is spread evenly on the back of the stone to guarantee a secure bond with the surface.
Using the recommended trowel size is crucial to achieve the proper adhesive coverage, enhancing the adhesion strength. It is important to allow the adhesive to set according to the manufacturer's instructions before proceeding with grouting, as this will optimise the bond's durability over time.
Proper application of the adhesive is a critical step in ensuring the long-term stability and durability of the engineered stone installation. By following these guidelines meticulously, you can ensure a professional and lasting result for your DIY project.
Cutting and Fitting Engineered Stone
While employing a wet saw equipped with a diamond blade is recommended for achieving precise cuts on engineered stone, ensuring accurate fitting involves measuring and marking the stone before commencing cutting operations.
It is crucial to use the right tools, such as a dry-cut diamond blade, for cutting engineered stone to prevent chipping or cracking. For curved or intricate cuts, a grinder with a diamond blade may be necessary. Safety gear like goggles and gloves must be worn to protect against potential hazards.
Testing the cutting tools on a small piece of the stone before making final cuts is advisable to ensure accuracy. When fitting the stone, pay special attention to inside corners and outside corners to achieve a seamless look.
Properly cutting and fitting the engineered stone is fundamental to the overall success of the installation process, which will later involve grouting the joints for a polished finish.
Sealing and Finishing Touches

Sealing engineered stone is a crucial step in the installation process to enhance durability and prevent staining. It is essential to use breathable sealers to avoid moisture accumulation beneath the surface, which can lead to issues like mould growth or discolouration. When sealing the engineered stone, make sure to follow the manufacturer's instructions carefully to ensure proper application. Applying two layers of sealer with sufficient drying time in between is recommended to achieve optimal protection.
To further protect the stone and avoid cracking, consider placing a layer of building paper underneath before installation. This additional barrier can help distribute weight more evenly and prevent stress points that may cause the stone to crack over time. Remember to always adhere to the manufacturer's guidelines for sealing frequency and maintenance to prolong the stone's lifespan and preserve its aesthetic appeal.
| Sealing Tips | Considerations |
|---|---|
| Follow manufacturer's instructions | Ensure proper application |
| Apply two layers of sealer | Allow sufficient drying time |
| Use breathable sealers | Prevent moisture build-up |
| Place building paper underneath | Avoid cracking issues |
Conclusion
In wrapping up, getting the hang of the 5 Top DIY Engineered Stone Fitting Tricks is super important if you want to make your engineered stone veneer look like it was done by a pro. Imagine, just like how a craftsman picks out the perfect tool for each job, you need to follow special steps to make sure everything sticks together right, cuts are spot on, and it's all sealed up tight. This way, you can make the places you live look amazing with tough and good-looking engineered stone veneer.
If you find yourself in a pickle or just want a hand to make sure everything looks perfect, don't hesitate to shout out to Allstone Solutions. They're there to help you out, so you don't have to go at it alone.
Remember, this is the second chance in this article to request a quote from us. Don't miss out on making your space look fantastic with a little help from our side.
By sticking to these tricks, you can really change up your spaces to look beautiful and last long with engineered stone veneer.


