In the realm of home renovations, installing granite countertops is a key task that demands precision and skill. The mastery of the techniques involved in this process greatly enhances the overall look and functionality of a space, making it a valuable project for many homeowners.
From careful planning to the finishing touches, each step in this detailed procedure is crucial for achieving a perfect result. We explore the top granite countertop installation techniques, revealing a world of precision, craftsmanship, and artistry, offering a rewarding journey for those looking to improve their living space.
Planning and Measuring Techniques
Getting Your Measurements Spot On
When you're eyeing up those gorgeous granite countertops for your kitchen, knowing your numbers is key. You need to measure your base cabinets with precision. Why? Because you want that countertop to fit as snugly as a glove. Remember to take a good look at any pesky wall bump-outs or pipes sticking out. They can throw a spanner in the works if you're not careful.
Creating Your Countertop Blueprint
Next up, you've got to sketch out a template. This is basically your roadmap for where everything needs to go – think sink holes, spaces for your hob, or any other bit you need to slot in there. This step is crucial because it tells the people cutting your granite exactly what you want. If you've got skinny bits around these cutouts, you might need to reinforce them. Granite's heavy, and you don't want any mishaps.
Syncing Up with Your Fabricator
Finally, keeping in sync with your fabricator is a must. Whether you're picking up your countertops or having them delivered, you need to be on the same page. This ensures everything runs like clockwork, and your kitchen doesn't end up in a state of limbo.
Why does all this matter? Because at the end of the day, you want your kitchen to look spot-on. A little bit of planning goes a long way in avoiding any last-minute headaches. Plus, when you see your kitchen coming together just the way you imagined, all the effort will feel totally worth it.
Reinforcing Granite Countertops
Strengthening Granite Worktops
If you're looking to keep your granite worktops in tip-top shape for the long haul, adding a bit of plywood support underneath is the way to go. It's like giving your countertops a sturdy backbone. Just imagine fixing a 19mm thick plywood sheet to the top of your cabinets. You'd use screws, spaced about 20-25cm apart, to secure it in place. This method spreads out the weight of the granite, which is quite hefty, so it doesn't sag or get damaged after loads of use.
When you're attaching the plywood, make sure to use an electric drill carefully. We all want to avoid a trip to A&E, right? And here's a pro tip: slap on a waterproofing membrane on that plywood. It's like an umbrella for your cabinets, keeping them safe from any spills or water damage. This extra step is crucial for protecting the structure underneath from any moisture that might sneak its way in.
Why bother with all this, you might ask? Well, it's all about making sure your granite worktops stay looking sharp and structurally sound for as long as possible. It's not just about aesthetics; it's about making your investment last. And isn't that what we all want? A beautiful kitchen that stands the test of time.
Cutting and Fitting Methods

Precise Measurements with Templates
For a granite countertop installation that looks like it was done by a pro, getting your measurements spot on is key. You'll want to use a template to mark out exactly where you'll be cutting. This isn't just about making sure it fits in the space; it's about ensuring every edge and corner lines up perfectly with your cabinets and walls. It's the difference between a countertop that looks okay and one that wows.
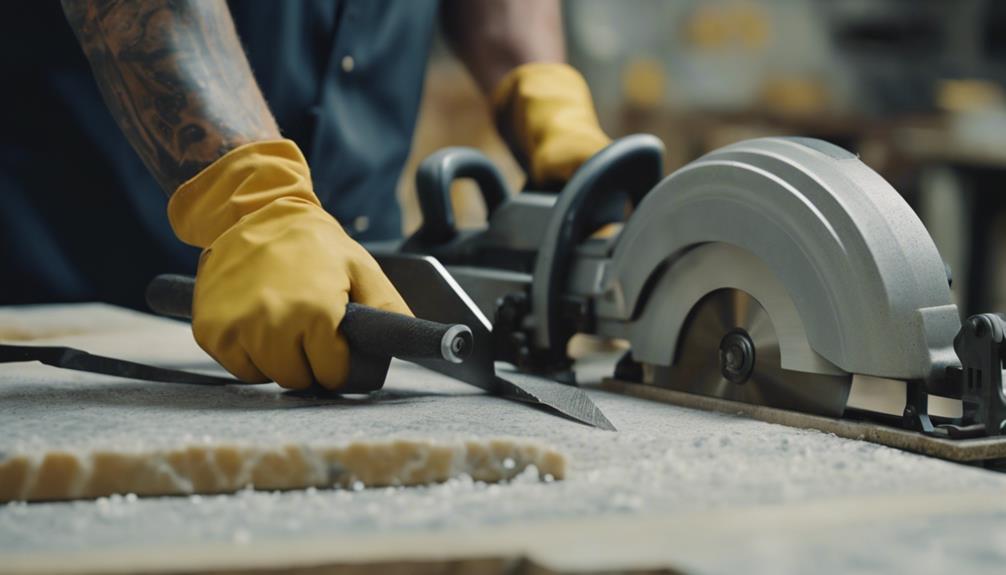
Cutting the Granite with a Wet Circular Saw
When it comes time to cut the granite, a wet circular saw is your best friend. Why? Because it keeps the dust down and helps prevent the granite from chipping. But, remember, safety first! Always wear goggles and a dust mask. You don't want to take any chances with flying debris or inhaling granite dust.
Securing the Countertop
After you've cut the granite to size, you'll need to make sure it doesn't move around when you're installing it. A bit of caulk on the underside does the trick. It acts like glue, holding the countertop in place so it won't shift or lift. Once it's secure, you can go ahead and fit your sink into place.
Speaking of final touches, don't forget to apply a good quality granite sealer. This is crucial because it protects your countertop from stains and damage. Think of it as a shield that keeps your granite looking shiny and new for years to come.
Seaming and Joining Tips
Joining Granite Countertop Seams Like a Pro
When it comes to seamlessly joining granite countertop seams, it's all about the right materials and technique. You'll need a colour-matched epoxy and a handy tool known as a seam setter for that professional, sleek finish. Here's how to nail the process:
Getting It Just Right
Firstly, align those granite edges with precision. It's crucial because well-aligned edges lead to an almost invisible seam post-joining. Think of it like putting together a puzzle; every piece needs to fit just right.
Clean and Dry Is the Way
Before you even think about applying the epoxy, make sure the seam area is spotless and bone dry. Why? Because cleanliness and dryness are key to making sure the epoxy sticks properly, ensuring that seamless look we're all after.
Pressure and Patience
Use the seam setter tool to apply consistent pressure, keeping everything level while the epoxy sets. This part is a bit like baking a cake — you wouldn't take it out of the oven before it's done. Allow the epoxy to fully cure, then sand down any excess for that smooth, professional finish.
Why This Matters
Using a colour-matched epoxy means that once everything's set and sanded, the seam between the granite pieces should be pretty much invisible, maintaining that sleek, continuous look across your countertop. The seam setter tool, on the other hand, is your best friend for maintaining level and even pressure across the seam, ensuring that everything cures evenly without any awkward lumps or dips.
Securing to Cabinets and Final Touches

Attaching Granite Countertops to Cabinets
When it comes to fixing granite countertops onto your cabinets, it's all about making sure they stay put and look good for years to come. What works best is a strip of caulk, right along the bottom edge of the granite. It's a simple trick, but it does wonders for keeping everything stable. You'll want to go for acrylic caulk here – it's top-notch at preventing those unsightly stains and ensures that the bond between your countertop and cabinets is as strong as can be. Remember, though, to steer clear of silicone caulk. It might seem like a good idea, but it can give you a bit of a headache with maintenance issues down the line.
Securing Tips and Benefits
- Caulk Perimeter: By running a bead of caulk around the bottom edge, you're not just sticking your countertop down; you're giving it a solid foundation. This means less wobble and a more professional finish.
- Acrylic Caulk: This choice is a game-changer. Not only does it keep those stains at bay, but it also plays a pivotal role in maintaining that seamless connection between your countertop and cabinets.
Keeping Your Countertop Pristine
After you've got everything securely in place, there's just a couple more steps to keep your granite looking its best. A granite sealer is your new best friend here. It acts like an invisible shield, fending off any spills or stains that life throws its way. And when it comes to cleaning, grab a bottle of granite and quartz cleaner. It's specifically designed to keep your surfaces shining without any of the harsh chemicals that can do more harm than good.
Maintenance Matters
- Regular Cleaning: Keeping your granite countertops clean isn't just about aesthetics; it's about preserving their longevity and lustre. Regularly wiping them down with the right cleaner can make all the difference.
- Quartz Cleaner: This isn't just any old cleaner; it's a lifesaver for anyone with granite or quartz countertops. It's formulated to clean effectively without damaging the surface.
Conclusion
In conclusion, getting the hang of the best granite countertop installation techniques is crucial for a result that's not only successful but will stand the test of time. Imagine preparing a feast on a beautifully installed granite surface, where every slice and dice is a testament to the precision and care taken in its installation. From the initial planning, where every measurement is carefully considered, to the moment of final polish, every phase is key to ensuring your kitchen shines with perfection. By adhering to expert advice and wielding the right tools and techniques, you can rest assured that your granite countertops will be a beacon of durability and elegance for years to come.
Should you find yourself in a pickle or simply wish to ensure the utmost precision in your granite countertop journey, remember, we at Allstone Solutions are here to help. Our expertise spans granite installations, marble setups, CNC stone engraving, engineered stone solutions, and comprehensive installation and maintenance insights. We're just a call or click away, ready to transform your space with our skilled hands and keen eye for detail.
Furthermore, if you're pondering a new granite countertop or any stone-related upgrade, why not request a quote from us? Our team at Allstone Solutions is eager to guide you through the process, ensuring a seamless, hassle-free experience from start to finish. Let us bring your vision to life with our craftsmanship and passion for stone.


